How to Use a Lifting Belt
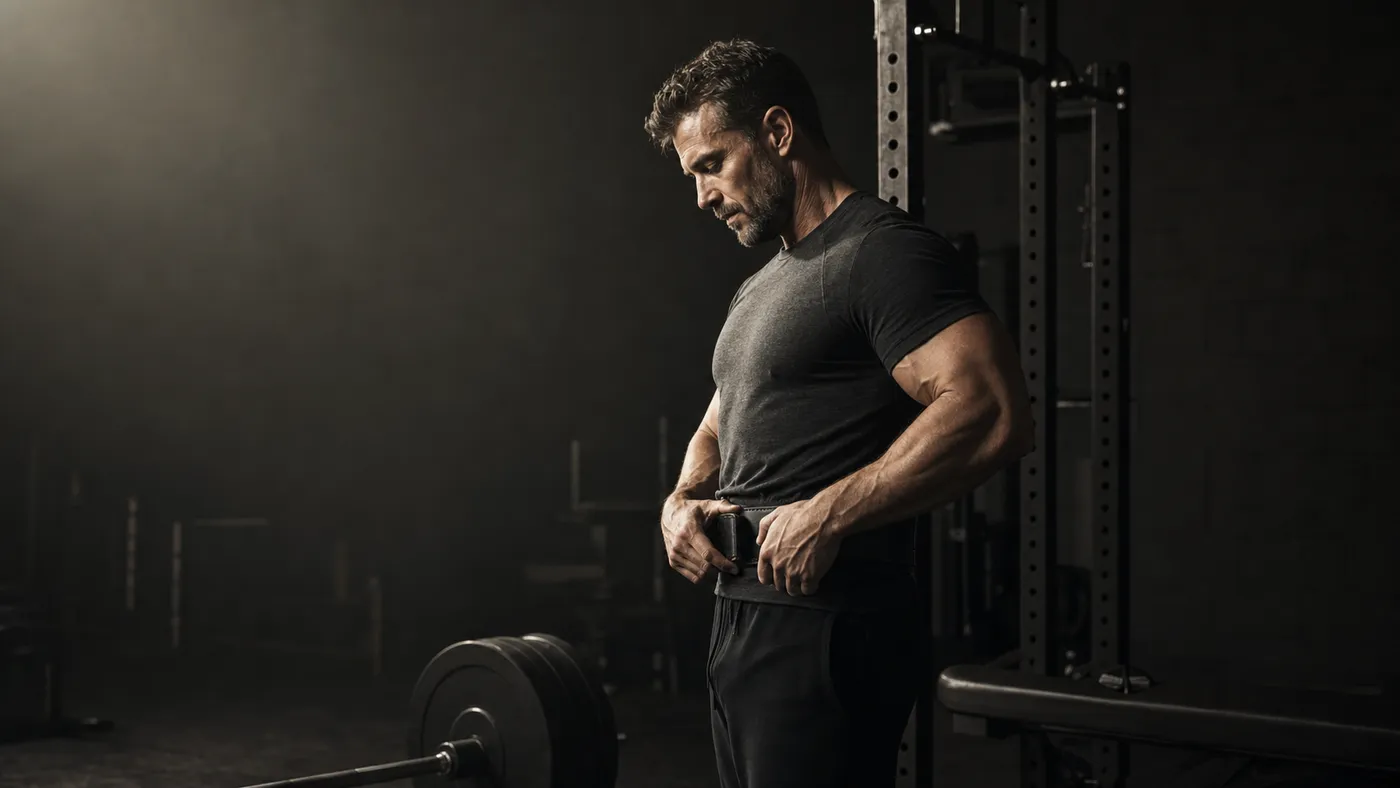
A lifting belt works best when it gives a solid core brace something to press against. Wear it around your midsection, set it snug enough that it stays put but loose enough to take a full breath into, then expand your abdomen, sides, and back against it before each demanding rep. A belt does not create stability by itself; it makes a good brace easier to feel and repeat.
That is why a belt can make heavy squats and deadlifts feel more secure without being a shortcut. The useful question is not whether a belt is “necessary.” It is whether it helps you hold a better position for the load and goal in front of you.
What a lifting belt actually does
A belt is a firm band that gives your abdominal wall feedback and resistance when you brace into it. It can make the trunk feel more stable under a hard squat, deadlift, press, or row, but it does not replace your abs, fix a loose setup, or make a weight safe by itself. Learn the basic pattern in how to brace your core for lifting, then add the belt when the feedback is useful.
Where should a lifting belt sit?
There is no single belt height that fits everyone. The right position lets you breathe and brace all the way around without the belt painfully digging into your ribs or hip bones.
- For squats: many lifters place the belt around the middle of the torso, often a little higher in front or lower in back depending on their build and squat style.
- For deadlifts: some people move the belt slightly higher or lower so they can reach the bar and set their hips without it pinching.
- For presses and rows: a belt may sit where it gives useful trunk feedback without interfering with the range of motion.
Start with the belt centered around your natural waist. Take a practice breath, then hinge or squat without load. If you cannot expand your sides and back, or an edge jams into bone, move it slightly. Small adjustments matter more than copying someone else’s placement.
How tight should a lifting belt be?
Your belt should be snug at rest, but you should still be able to create a strong 360-degree breath into it. If it feels like a corset before you inhale, it is probably too tight. If you can pull it several inches away from your torso once you brace, it is probably too loose.
A practical test:
- Fasten the belt on an easy setting.
- Stand tall with ribs stacked over your pelvis.
- Inhale low around your waist, not up into your shoulders.
- Expand into the front, sides, and back of the belt.
- Tighten your trunk without changing your posture.
You should feel pressure meeting the belt all the way around while still being able to reach your setup position. Most people do not need the tightest hole.
How to brace into a belt
Use this sequence before a heavy single or the demanding reps of a working set:
- Set your position first. Get your feet, hips, ribs, and grip in place before the big breath.
- Inhale around your waist. Let the abdomen, obliques, and lower back press outward—not only the front of your stomach.
- Meet the belt from all sides. Feel the belt at the front, sides, and back as you firm your trunk.
- Move while keeping that shape. Descend into the squat or pull slack from the bar without letting the torso go soft.
- Reset when needed. Rebuild the brace after a demanding rep rather than stretching one breath through a hard set.
 The belt is feedback for a brace you create yourself; it is not a substitute for one.
For lighter accessory work, use enough tension to control the torso and breathe normally. Save the belt and a stronger brace for lifts where trunk stability is genuinely part of the challenge.
When a belt is useful—and when it is not
A belt tends to earn its place on hard compound sets: squats, deadlifts, front squats, overhead presses, and some heavy rows. You do not need it for every exercise, warm-up, or set, and it is never a reason to force a lift your technique or recovery cannot support.
Try this simple progression:
- Learn to brace without a belt on warm-ups and manageable working loads.
- Put the belt on for your heaviest sets or the work where your brace starts to fade.
- Keep the same belt position and tightness for a few sessions so you can learn what changes.
- Adjust one variable at a time: placement, tightness, or the cue you use to brace.
If you have cardiovascular, blood-pressure, pregnancy, or pelvic-floor concerns, get individualized guidance from a qualified clinician before using forceful powerlifting-style breath holds.
Common lifting-belt mistakes
Pulling it as tight as possible. A belt you cannot breathe into removes the mechanism that makes it useful.
Pushing only the belly forward. A useful brace is circumferential. Let the sides and back expand too.
Changing belt position every set. Use a workable position for a few sessions before judging it.
Using it to skip setup practice. The belt goes on after you know how to stack your ribs, set your hips, and create tension—not instead of those things.
Treating belt-on and belt-off performance as identical. A belt may change how stable a given load feels. If it affects a top set, a brief note keeps your training history honest.
Make the setup easy to repeat
One useful cue—“breathe all the way around,” for example—often beats five technical thoughts. Use it during warm-ups, then keep the same belt setting for heavier work.
In Steady, a short exercise note such as “belt on for top set” gives next week’s numbers the context they need. Pair that note with your normal load, reps, and effort data, and you can tell whether a better set came from stronger lifting, a cleaner setup, or both. The goal is not to become dependent on the belt; it is to make a solid bracing pattern easier to reproduce.
The takeaway
Use a lifting belt by placing it where you can breathe into it, fastening it snugly rather than painfully, and expanding your whole trunk against it before a hard rep. Start without one when you are learning the pattern, then use it deliberately on heavy compound work where the added feedback improves your position.
A belt is most useful when it turns a good setup into a more reliable one. Keep the skill, the load, and the notes around it clear—and let Steady help you see what is actually improving over time.
Ready to start applying progressive overload?
Ditch the spreadsheets and complex notes. Join thousands of lifters who use Steady to focus on the workout, track their progress, and automatically know when to add weight.
Download Free for iPhone